【IG網美必備】6款神級修圖APP、修圖秘技大公開!

現在出外拍網美照除了衣服、姿勢外,後期修圖決定會讓你的圖片更漂亮,甚至拯救到一些你認為NG的失敗照片!陰天、角度歪了、景深效果甚至後期上妝通通都可以用手機APP一次KO!
以下這6個APP不只好用,而且全免費下載,事不宜遲 立刻開始介紹!
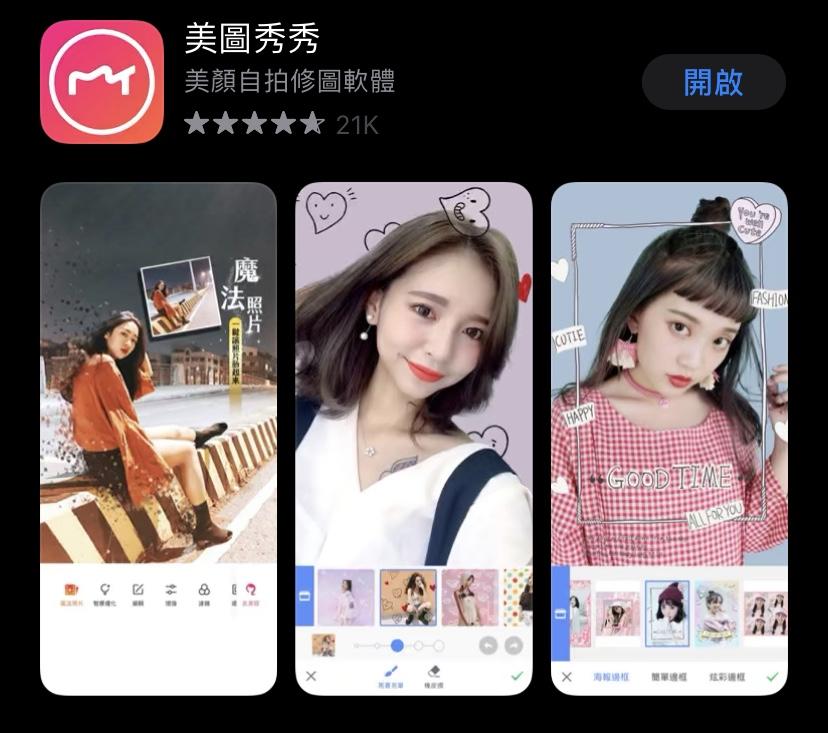
1. 後製化妝效果APP:美圖秀秀
相信大家對這款APP絕對不陌生!在你唇色不足、甚至沒化妝,這通通都能後製!讓我們一起看下去👇🏻
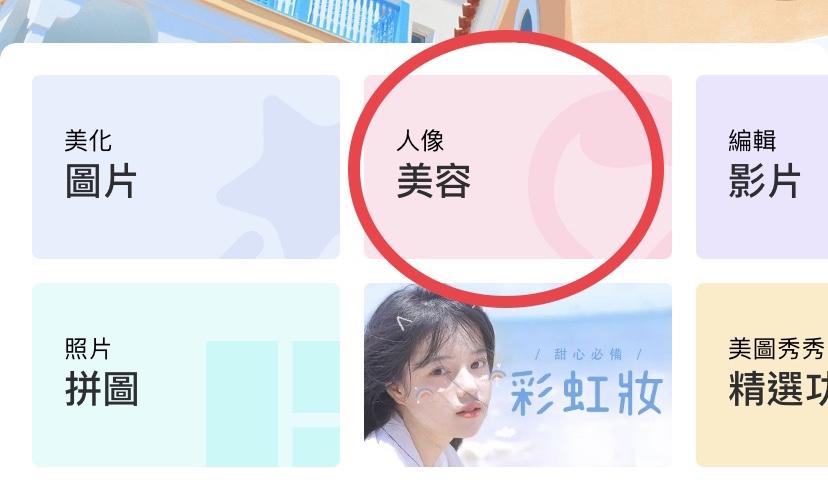
首先,你需要打開「美圖秀秀」的「人像美容」功能👇🏻

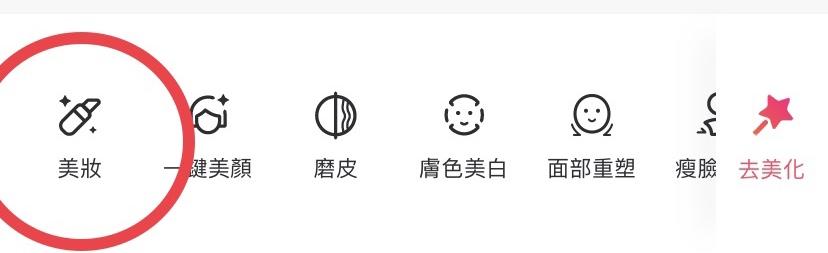
進到「美妝」功能👇🏻

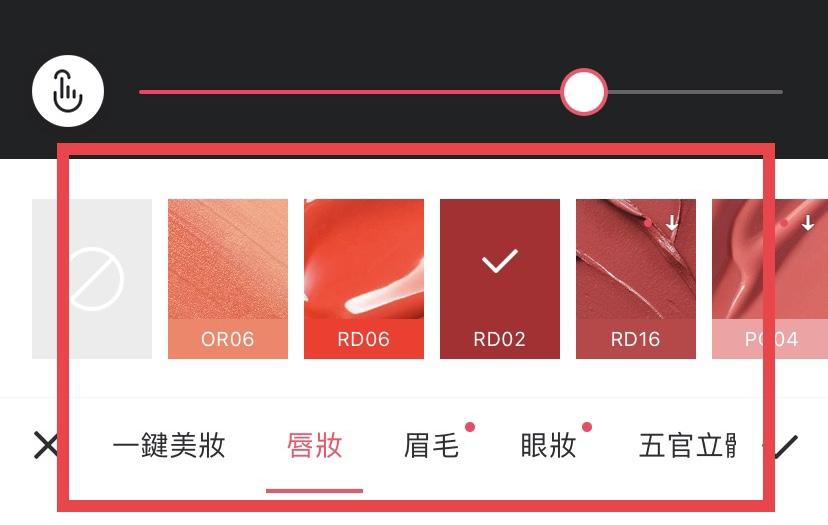
以下不只唇妝可以添加,連眉毛、眼妝、打亮陰影都能讓你自己添加!款式也很多,且可讓你自行調節濃淡程度,就是用下圖上的Bar作調節!

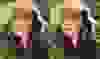
以下是 Before and After:
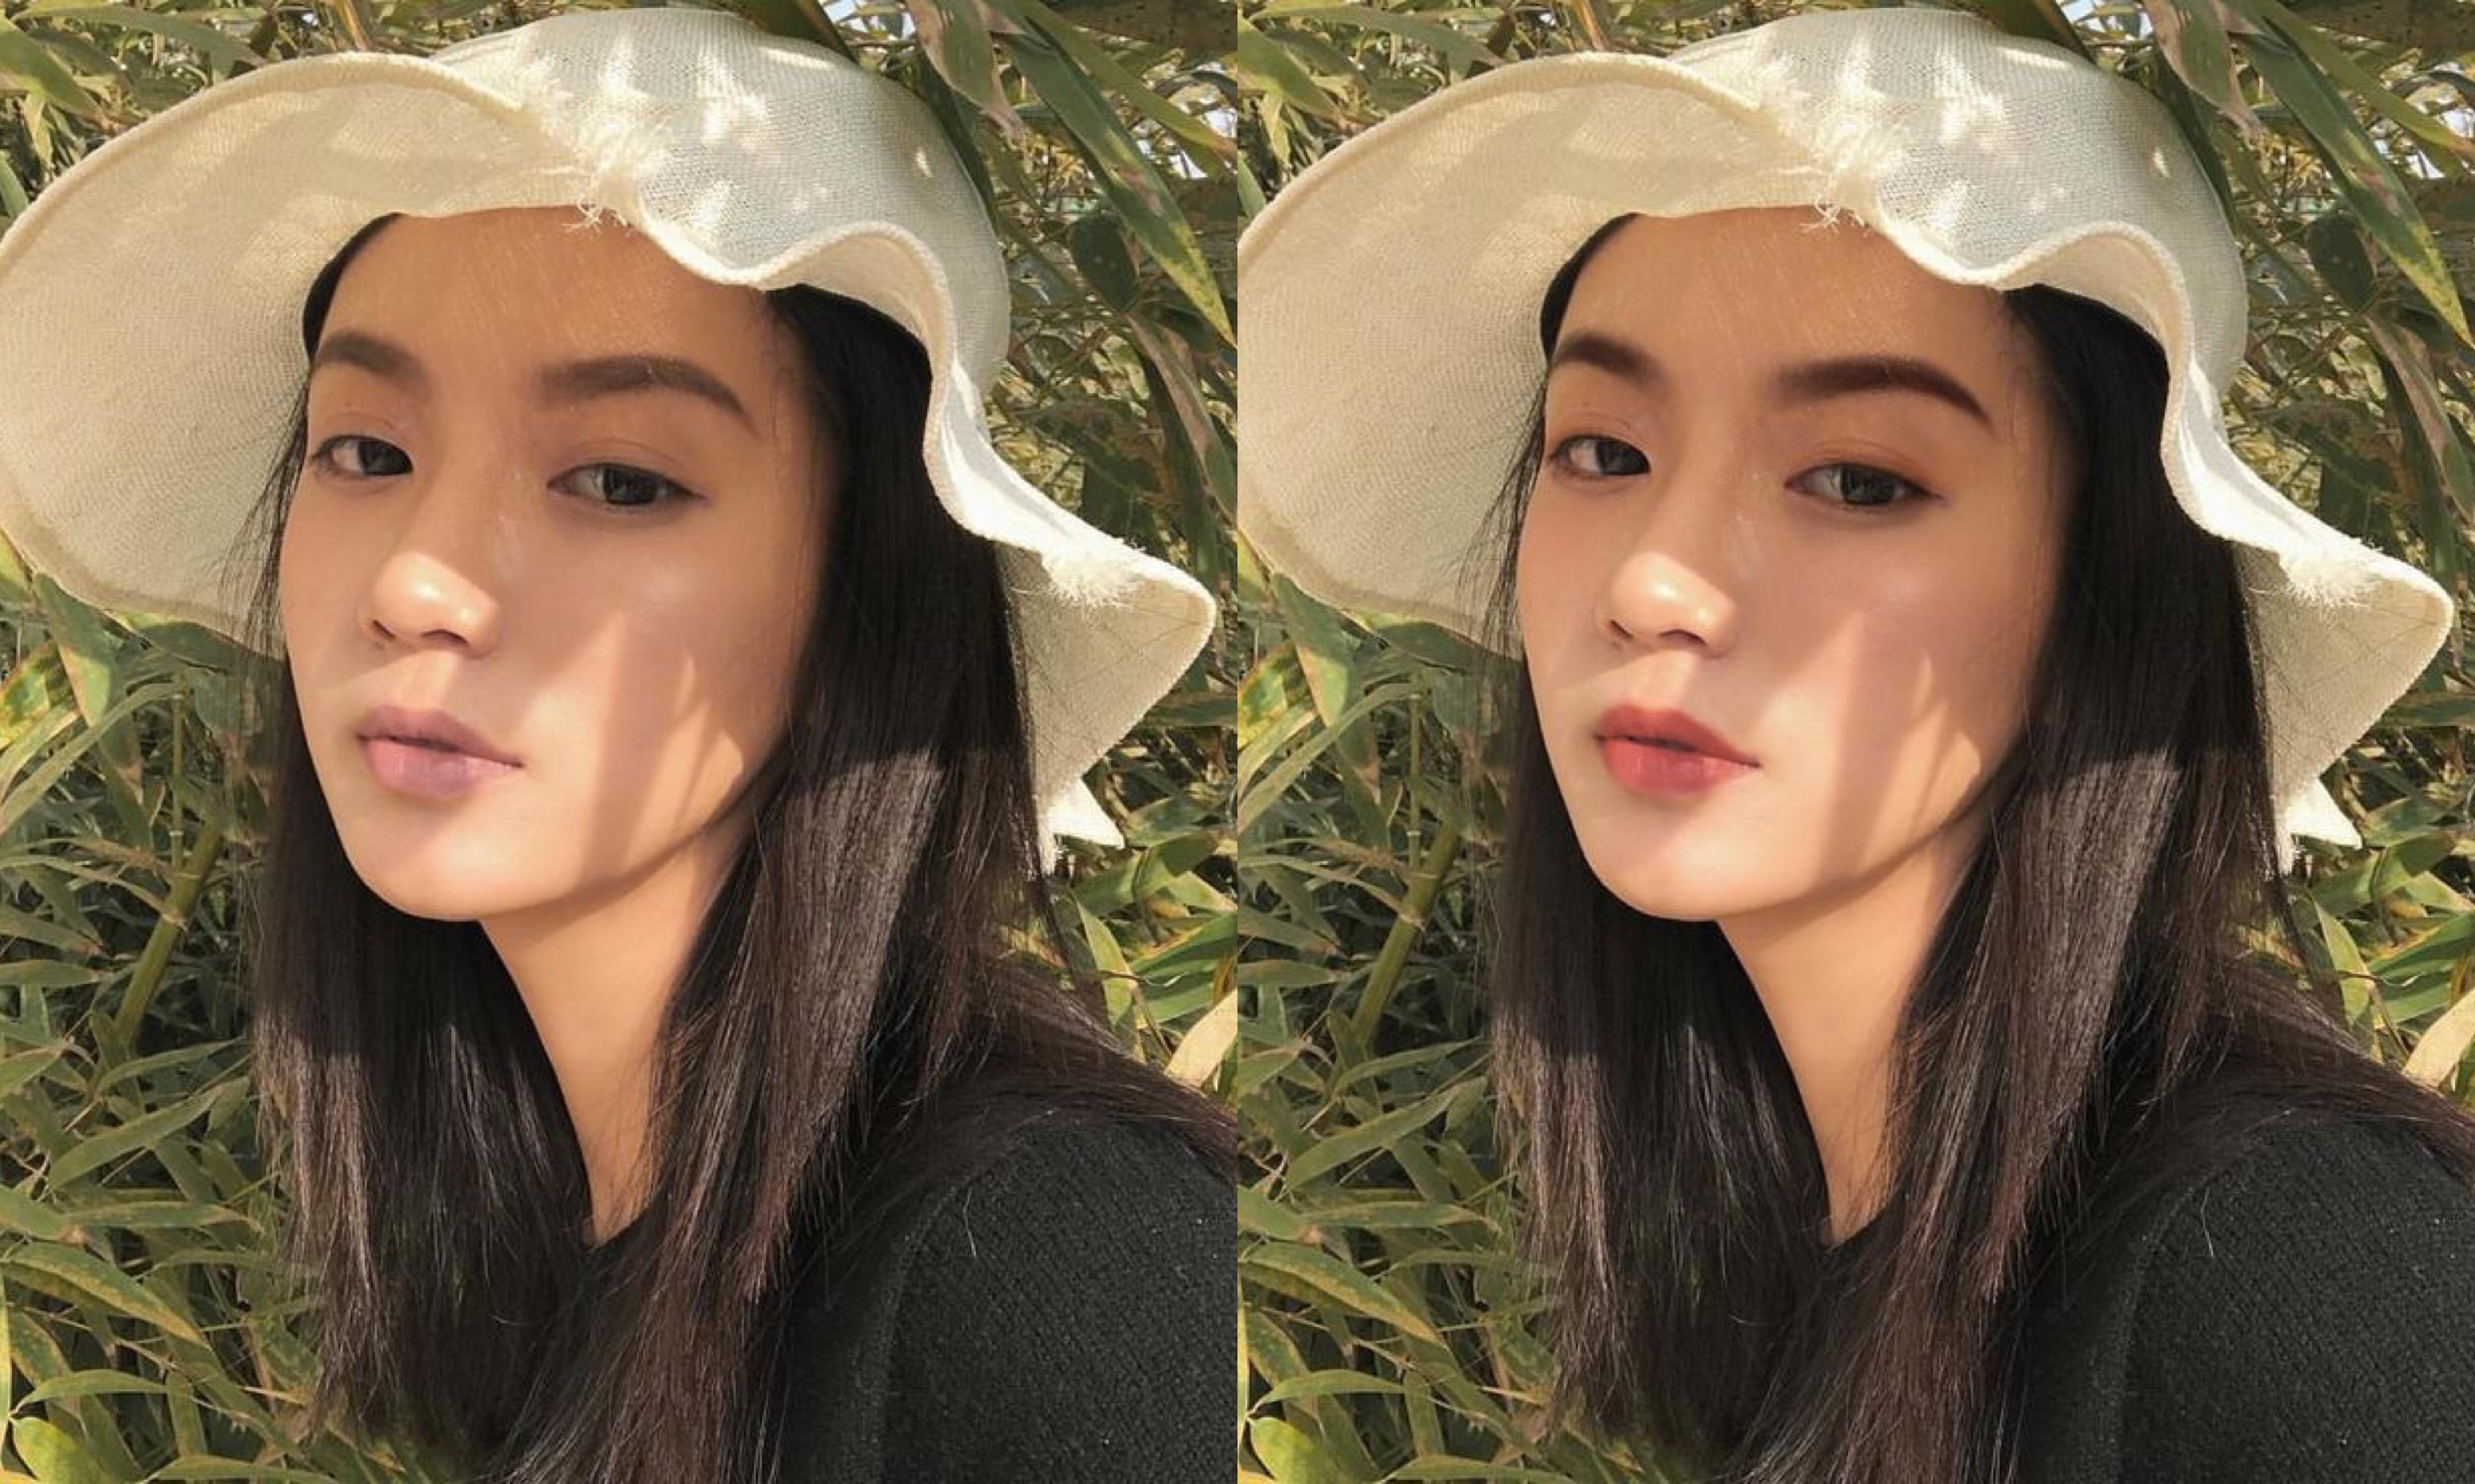
2. 後製藍天APP:Quickshot
在陰天的時候才去拍照,往往都會遇到天空灰灰霧霧的,完全沒有美感可言,但又不想因為陰天而放棄辛苦拍好的美照,美麗的藍天都能後製,這款APP絕對可以幫你一個大忙👇🏻

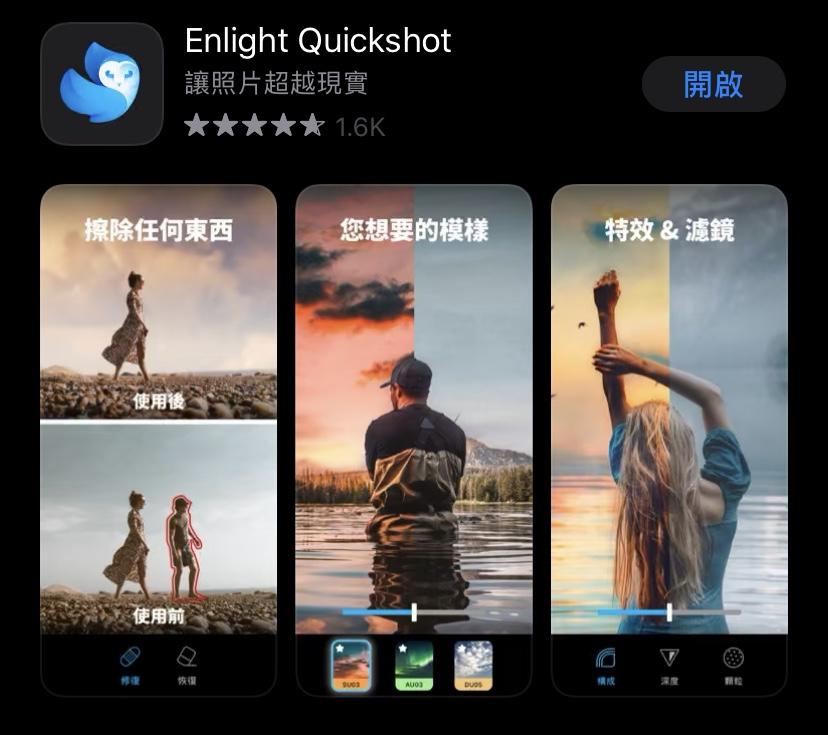
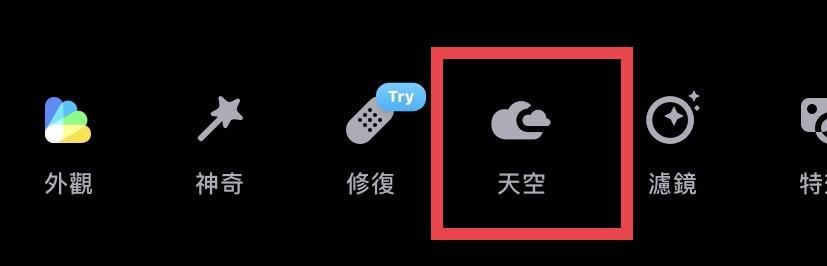
首先,進到 Quickshot 後,需要按下「天空」功能👇🏻
之後會有各種的雲可讓你選擇,但是部分需要付費。
但免費的已經很夠用,這次我選了免費的「SN05」👇🏻

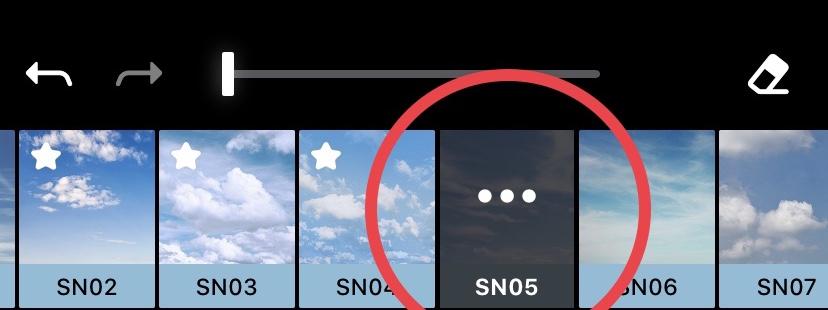
這就是最初套用的效果👇🏻但還是不夠自然


以下的是小秘訣:
再按下「···」👇🏻


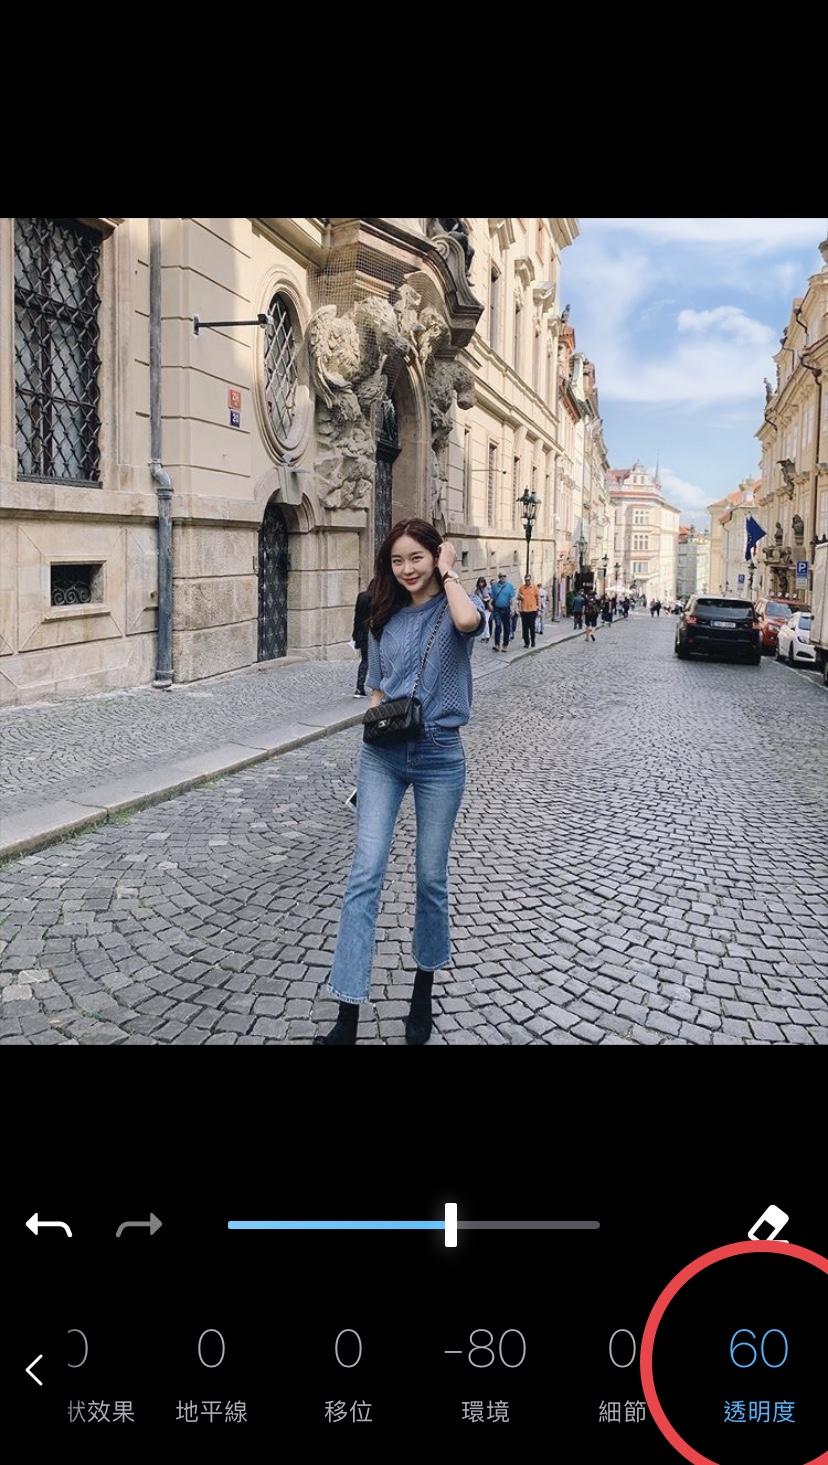
之後就會進到各式各樣的功能,而「透明度」這個功能則是影響整張照片自然與否的關鍵!
我把透明度從「100」拉低到「60」,會比上面的死死的藍更自然👇🏻

以下是 Before and After:


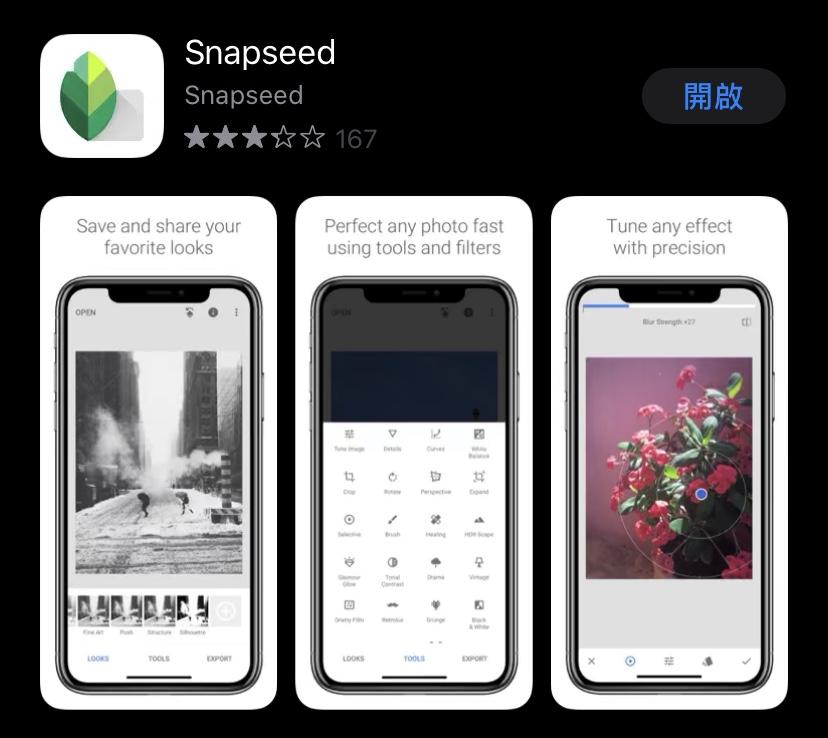
3. 拯救歪角度、長腿APP:Snapseed
有時侯明明樣子和背景都很Ok,但是!角度歪了!這時侯就能用SNAPSEED來拯救!而且也能順便地把腿給拉長🤪👇🏻

首先,進到Snapseed後,需要按下「視角」功能👇🏻

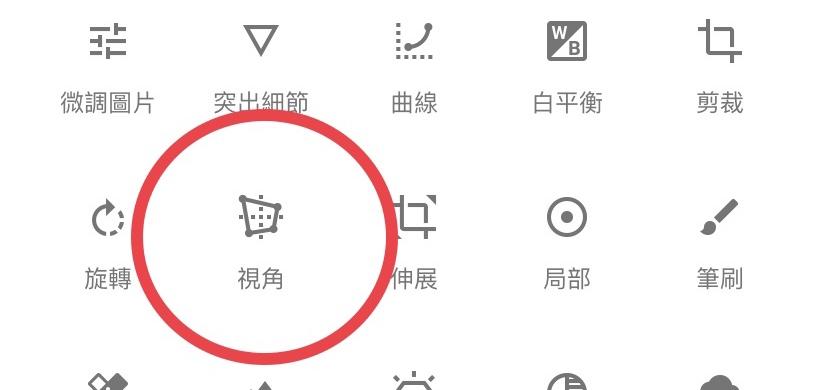
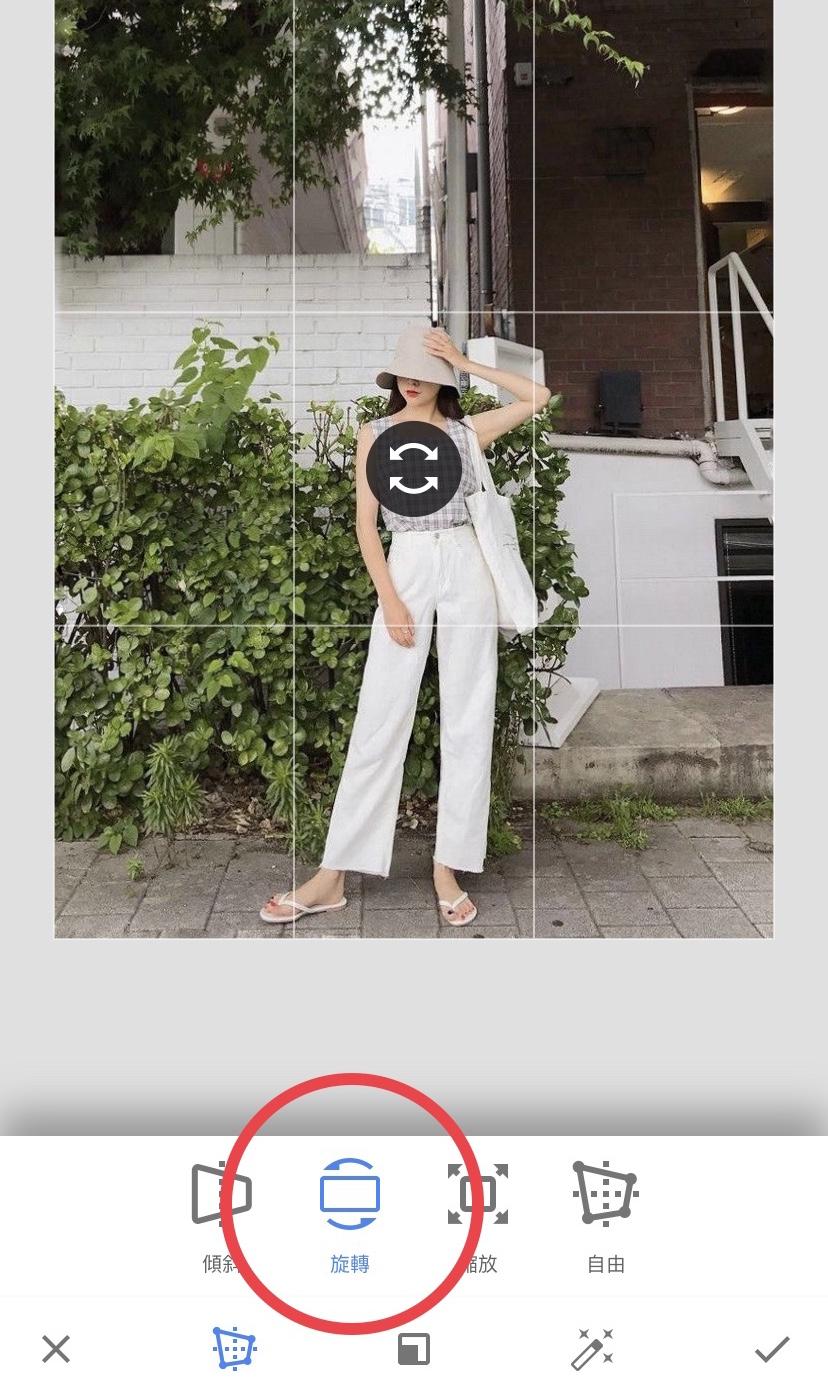
之後,按下面的「旋轉」來把照片拉直👇🏻
向左滑拖拉就是往左旋轉,往右則相反
這時侯,你可能會問,旋轉功能內置手機都有了,為什麼要用特意用這個方法
⚠️ 手機內置的旋轉會把照片裁切到!而這個方法則不會
接下來,進到「傾斜」(長腿)功能👇🏻
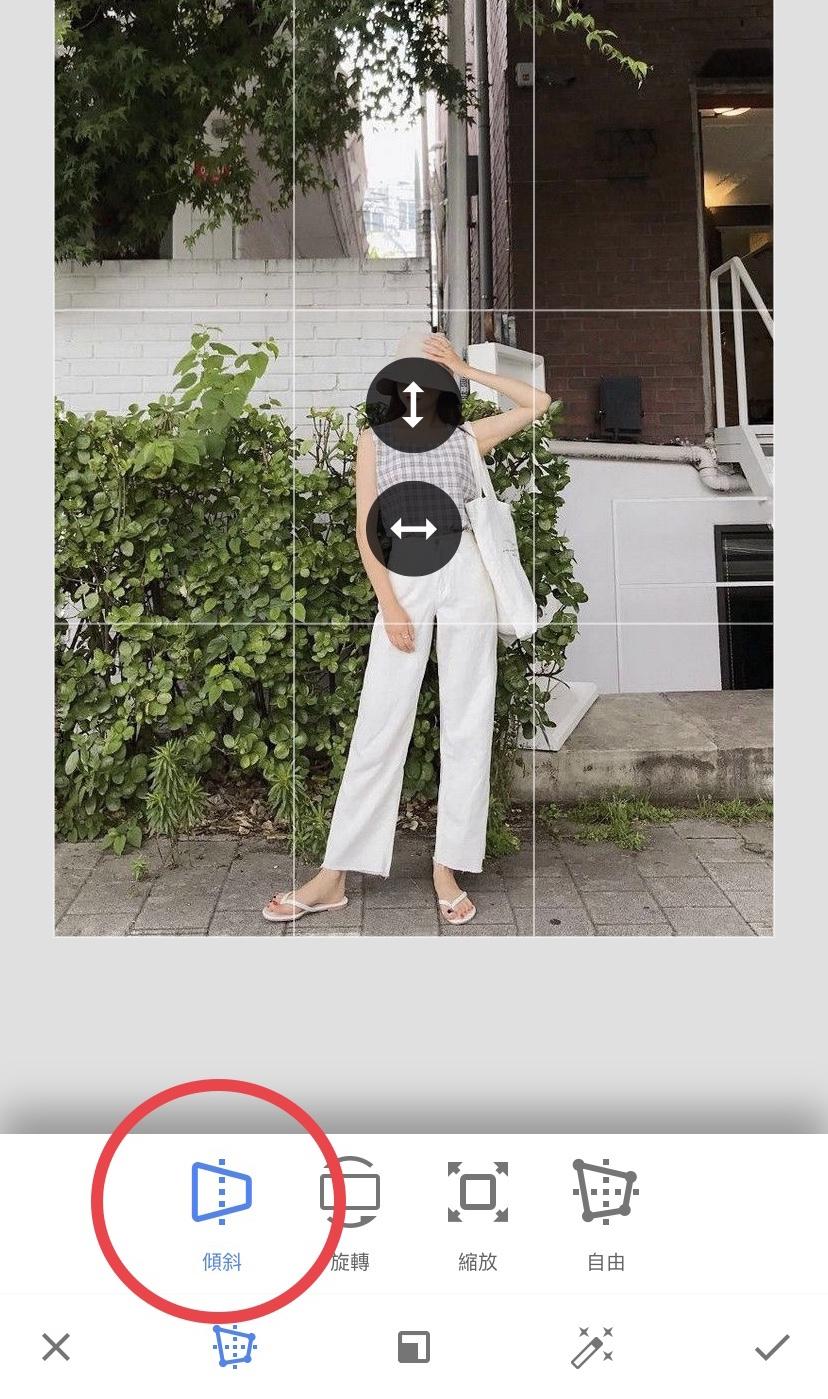
向上拉就是往上扭,往下則相反
因為我們想讓腳變長,故此應往上拉。
以下是 Before and After:

4. 後製照深效果APP:Focus
有時候,Iphone的人像功能用不到或是忘記使用,以下這個APP可讓你後製上景深效果,繼續看下去👇🏻

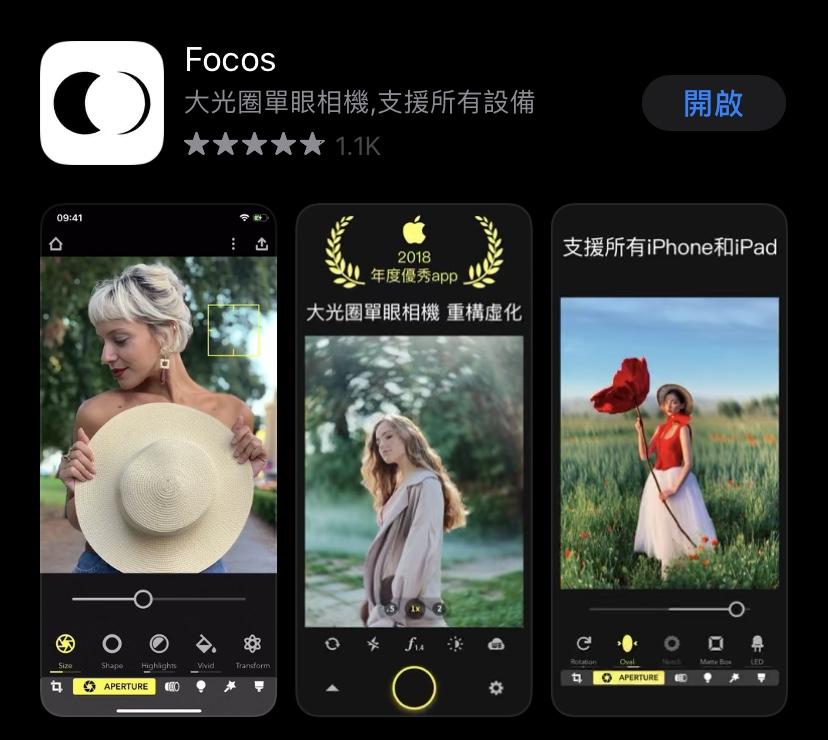
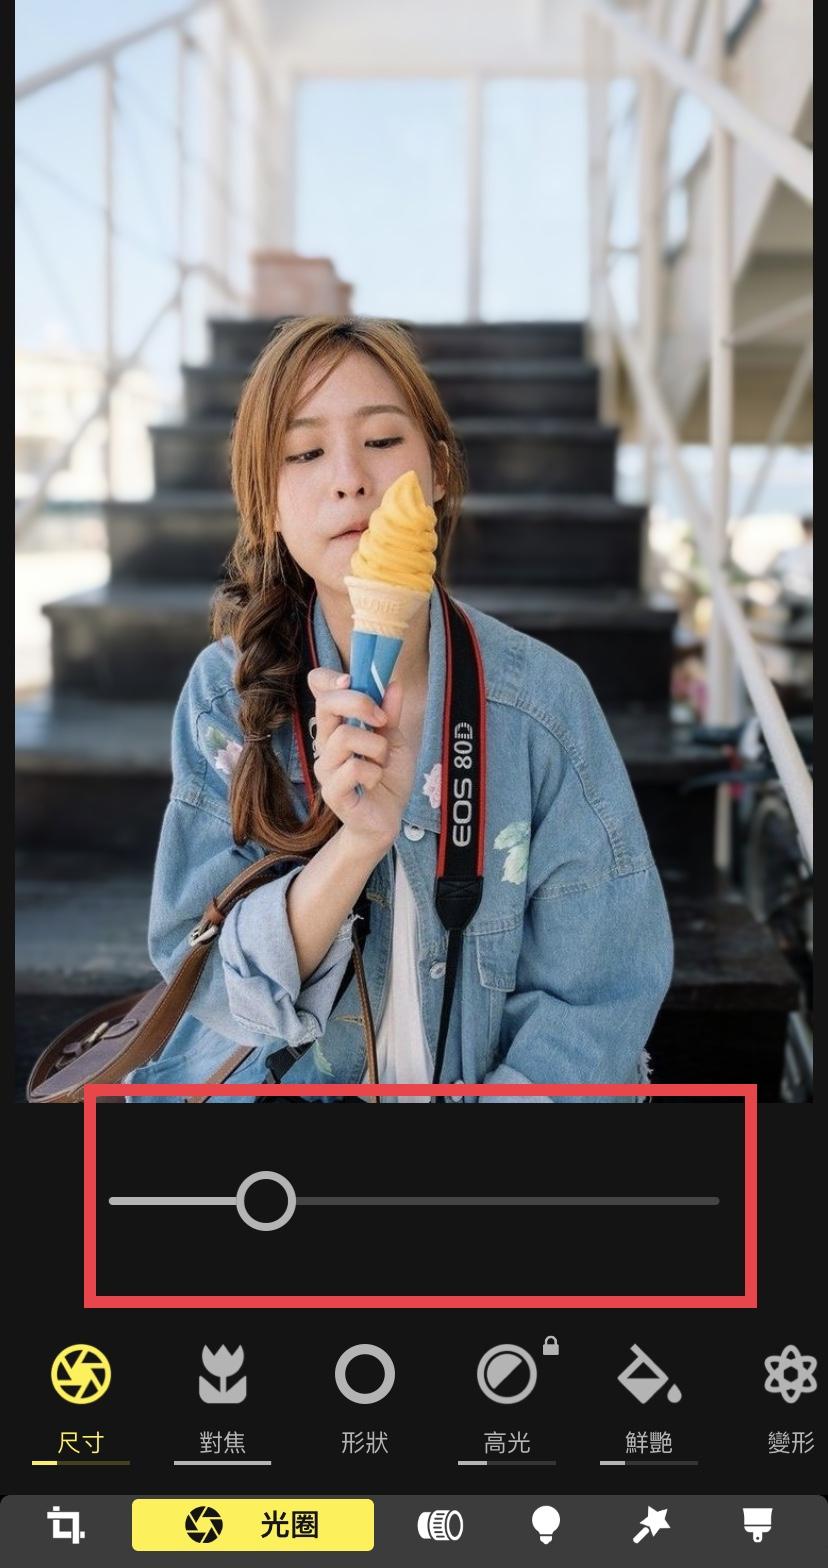
首先,進到「Focus」後,
先要按「尺寸」👇🏻

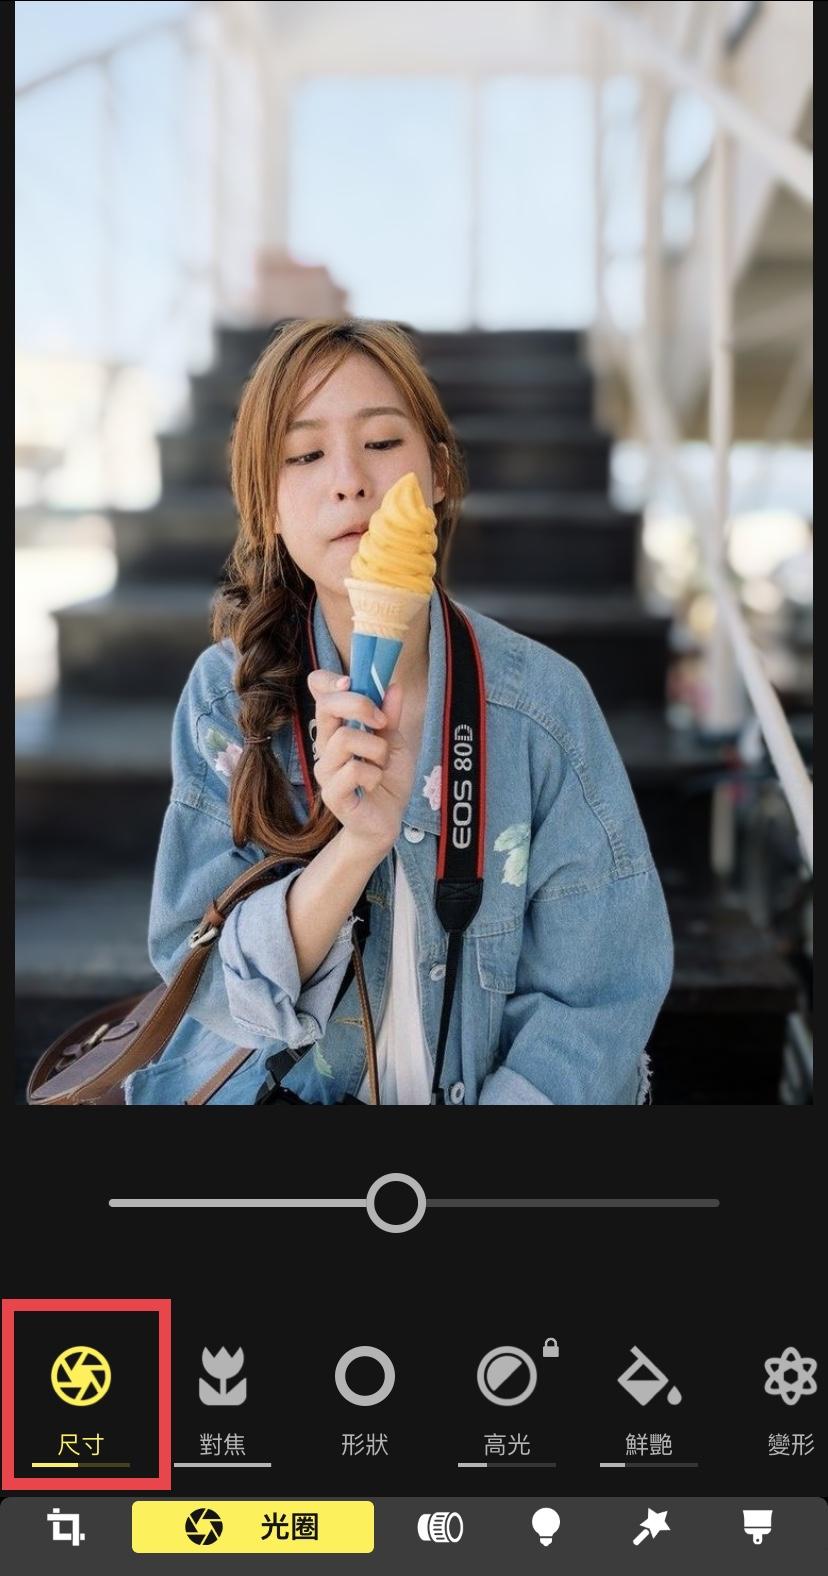
下圖的Bar是用作調節光圈大小👇🏻
往左拉背景就會愈清晰,往右則愈模糊
接下來,進到「對焦」功能👇🏻
對焦功能的Bar讓你透過拉的方式更精確地選取需對焦物件/人

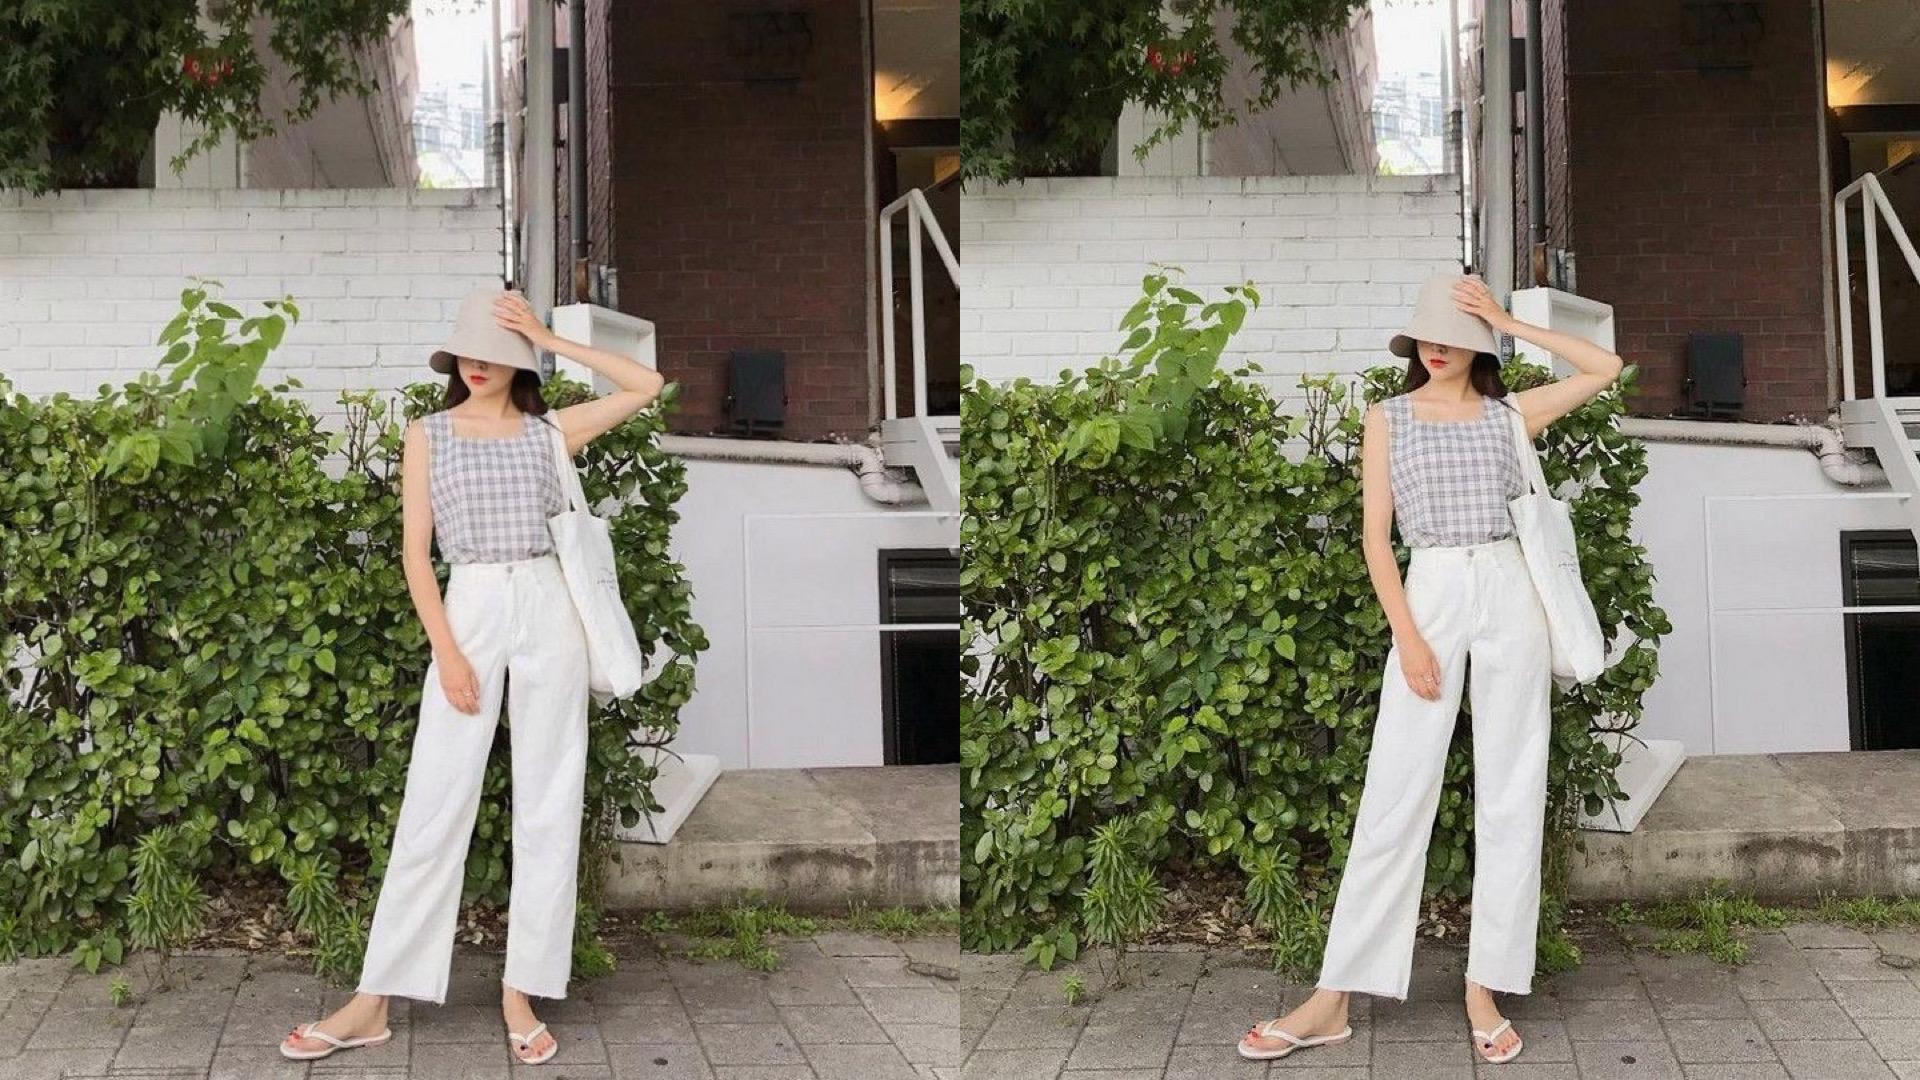
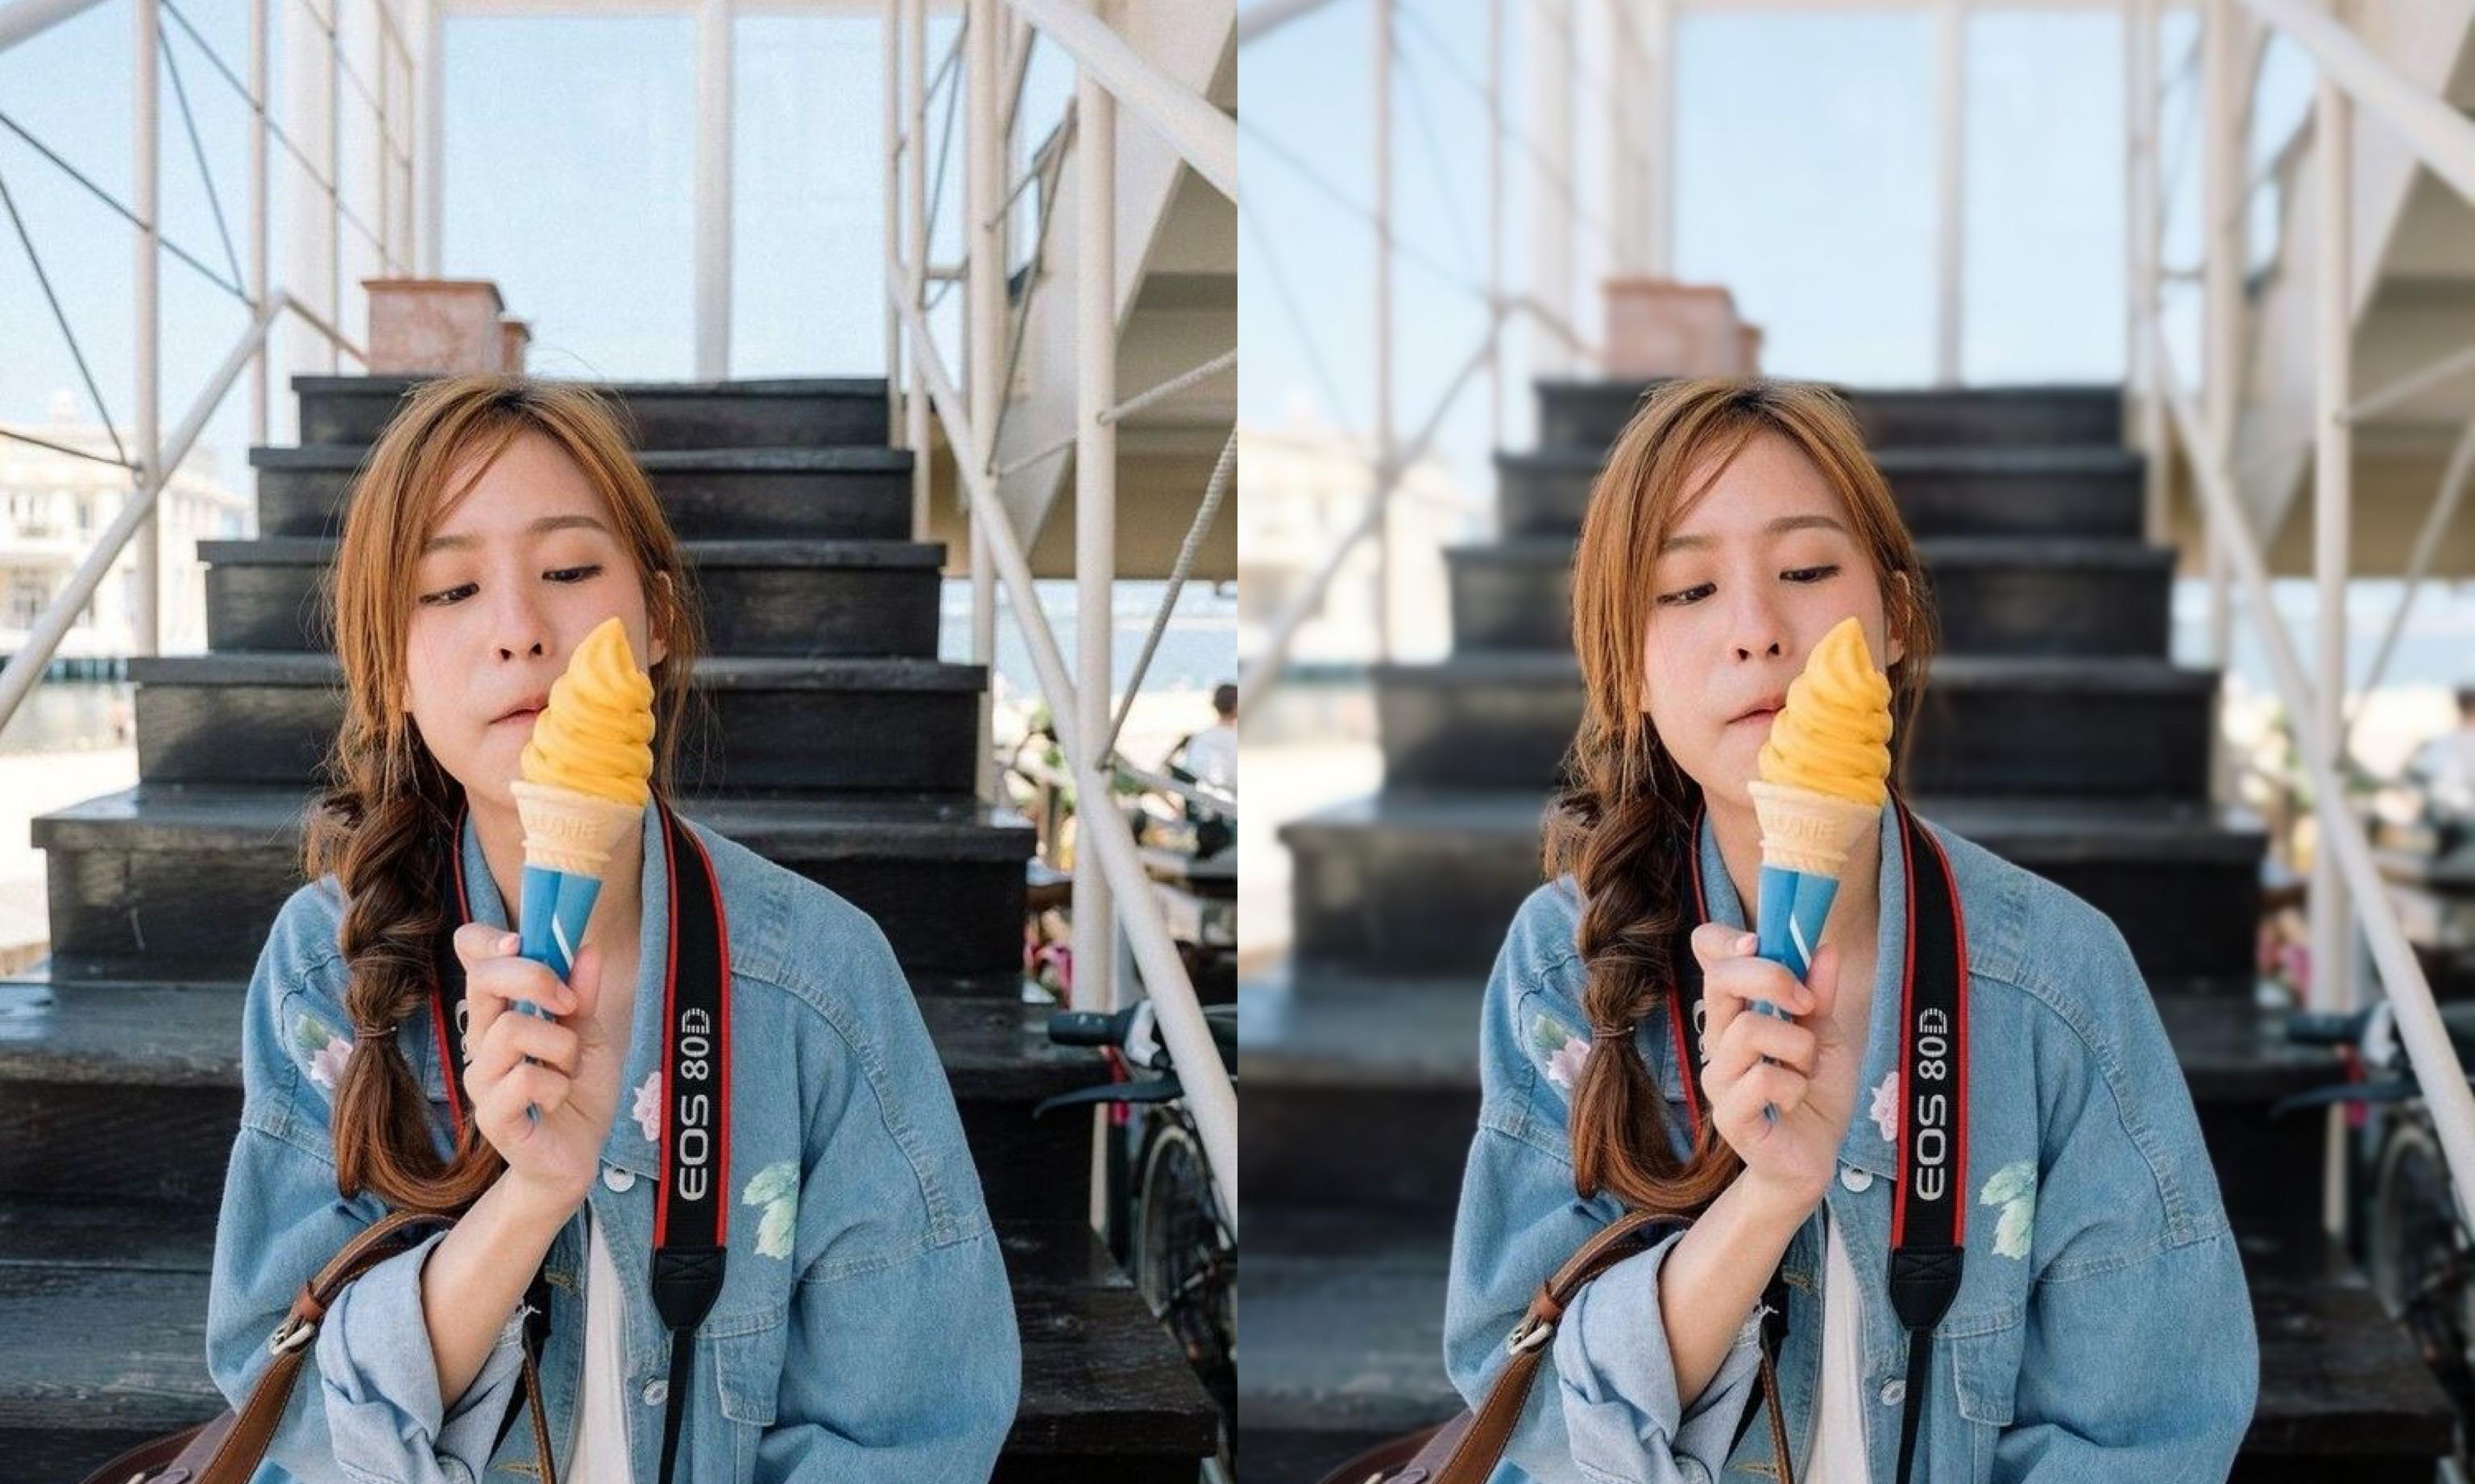
以下是 Before and After:

5. 後製復古效果APP:KUNI Cam
復古照片常見的元素通通都可以用KUNI Cam搞定!簡直太方便,用了它復古照片隨手可得呀👇🏻

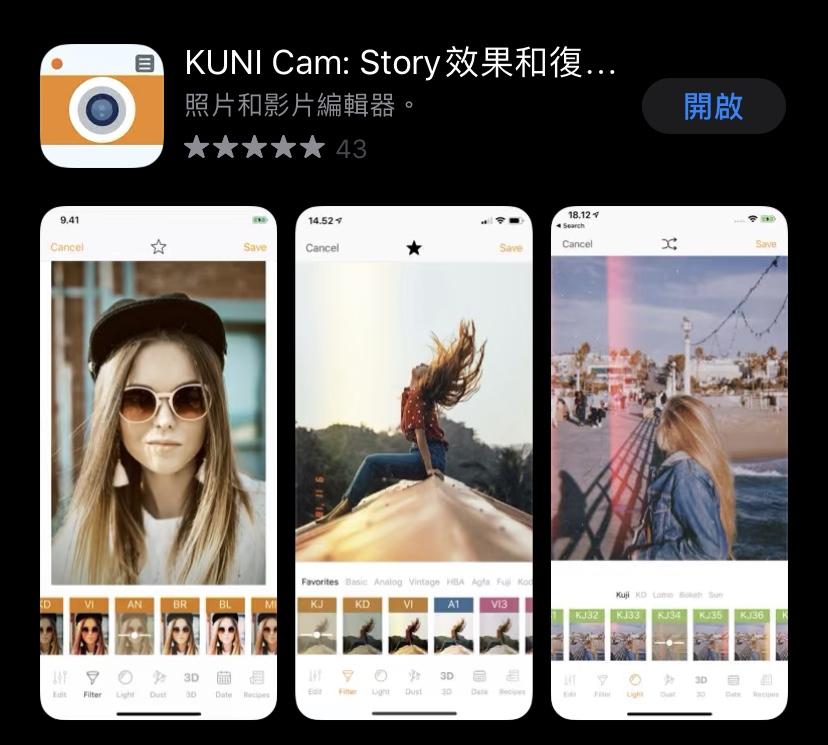
雖然有些選擇需要付費,但免費的就很夠用了!
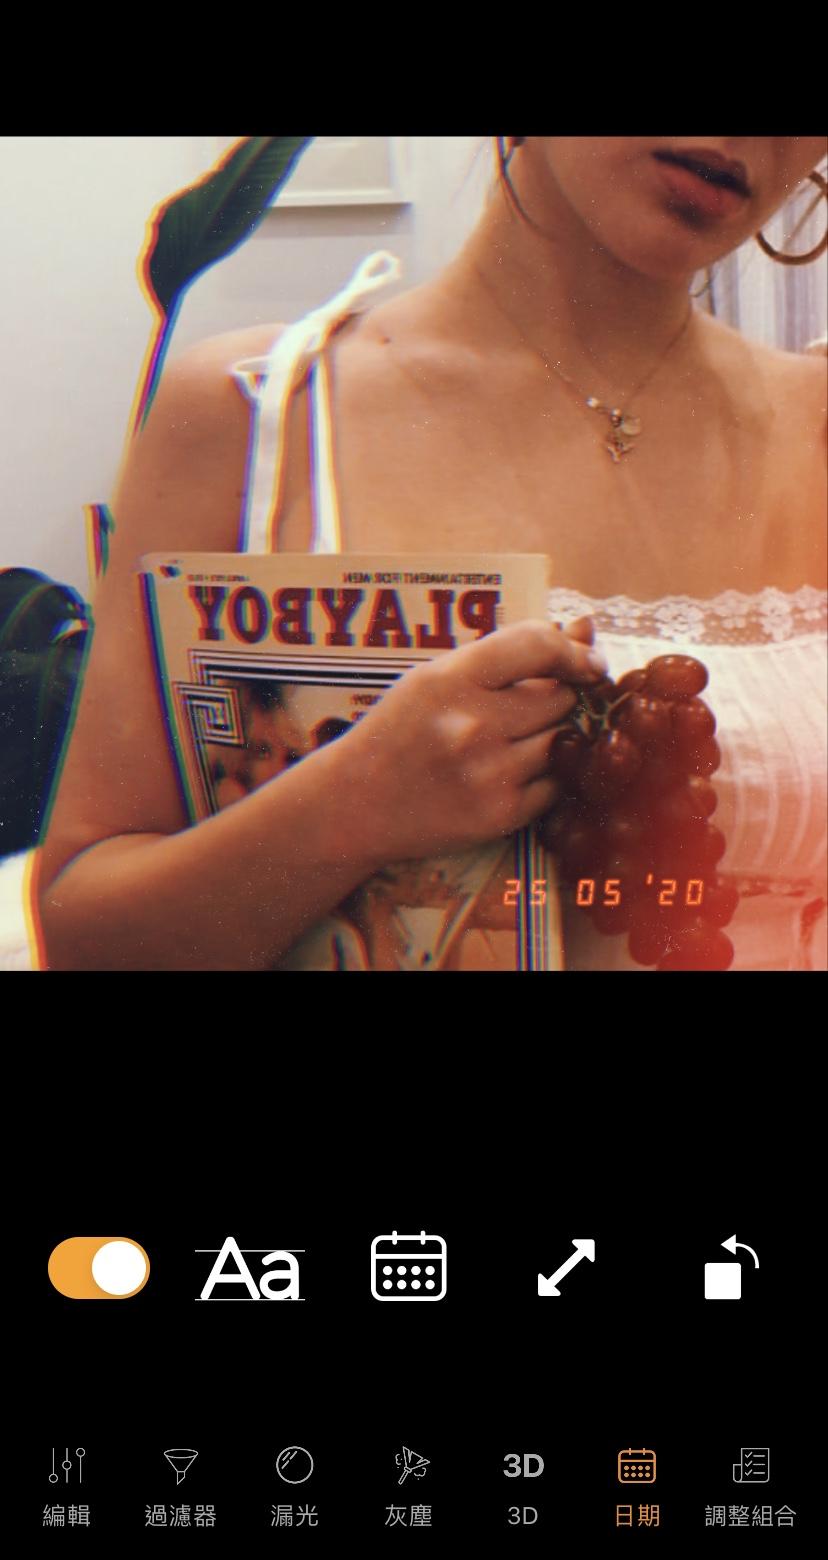
進到KUNI Cam後,以下會有數個復古照片必備的元素👇🏻
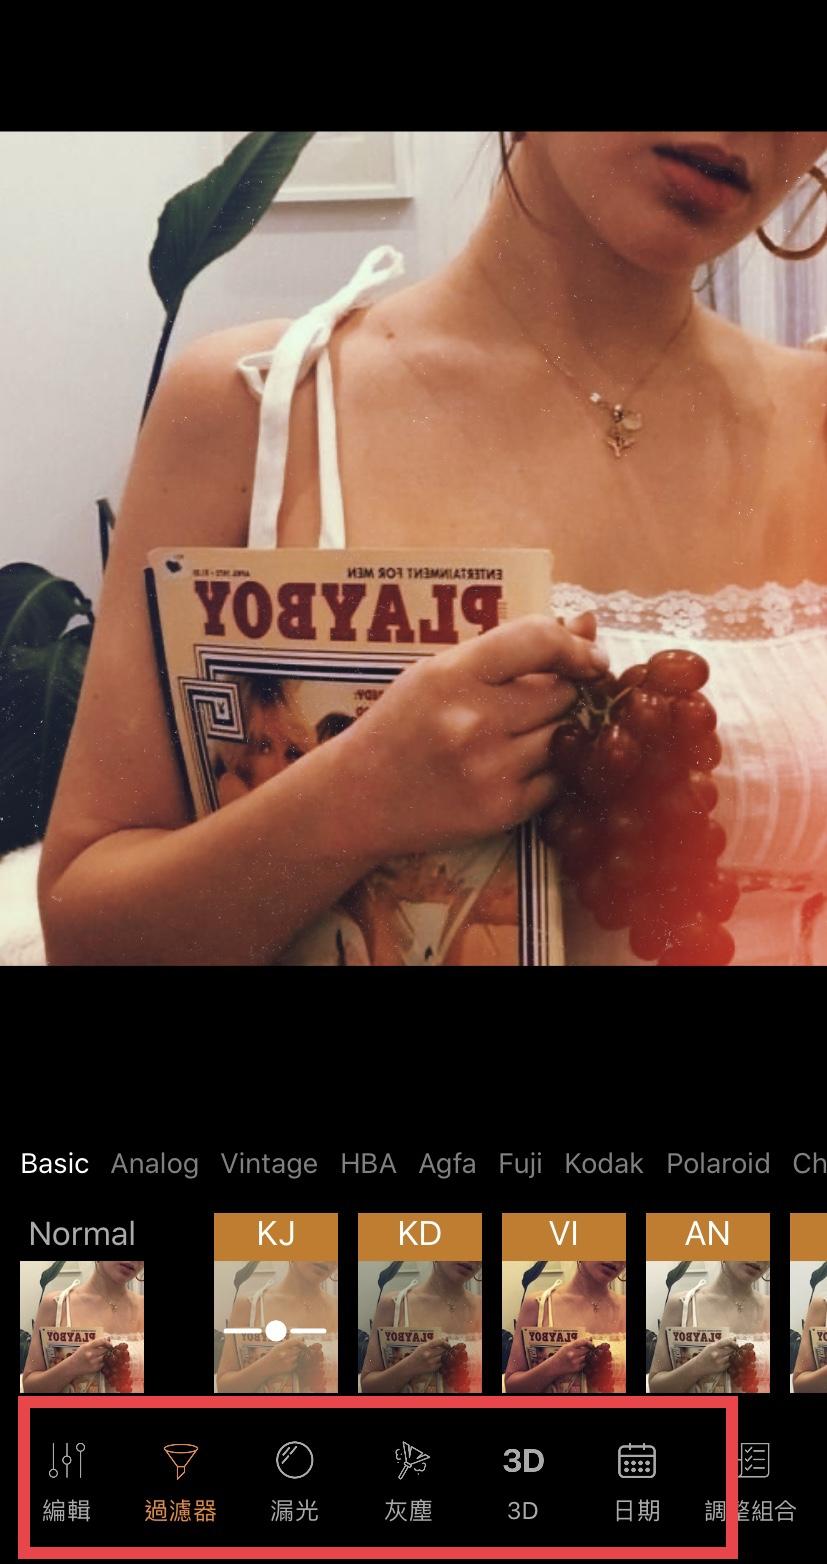
Filter、漏光、灰塵效果相信大家都不陌生,就讓大家自行探索,也是可以調節程度的呀!
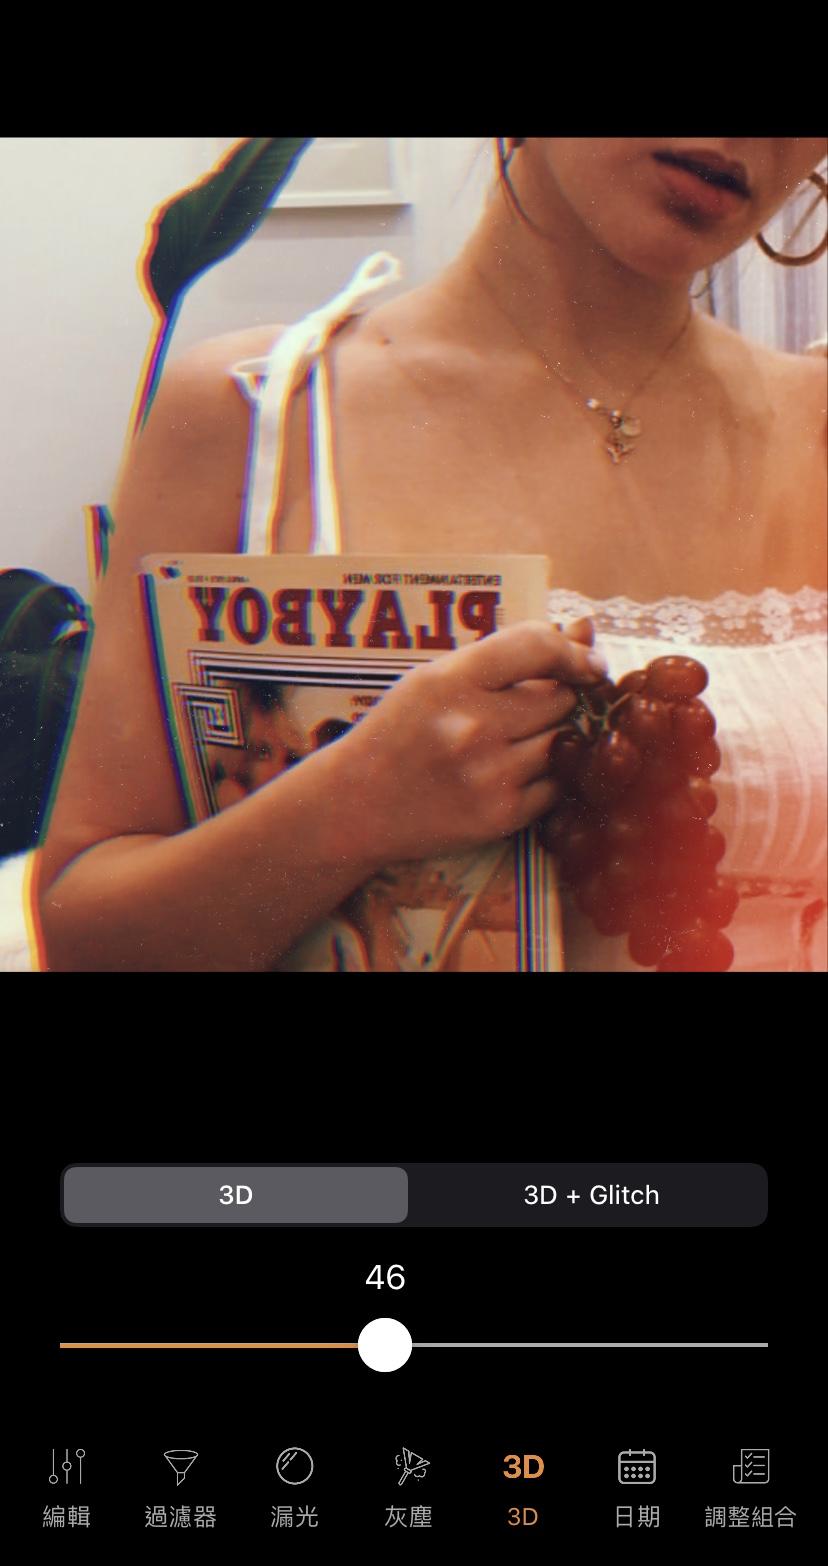
以下介紹是比較不常見的「3D」功能👇🏻
這個功能可讓照片蒙上一種復古片蠻常有的立體效果,也是能讓你自行調節程度
而且,這APP連復古風的日期都能加上去!也能選擇擺放位置、顏色、大小👇🏻
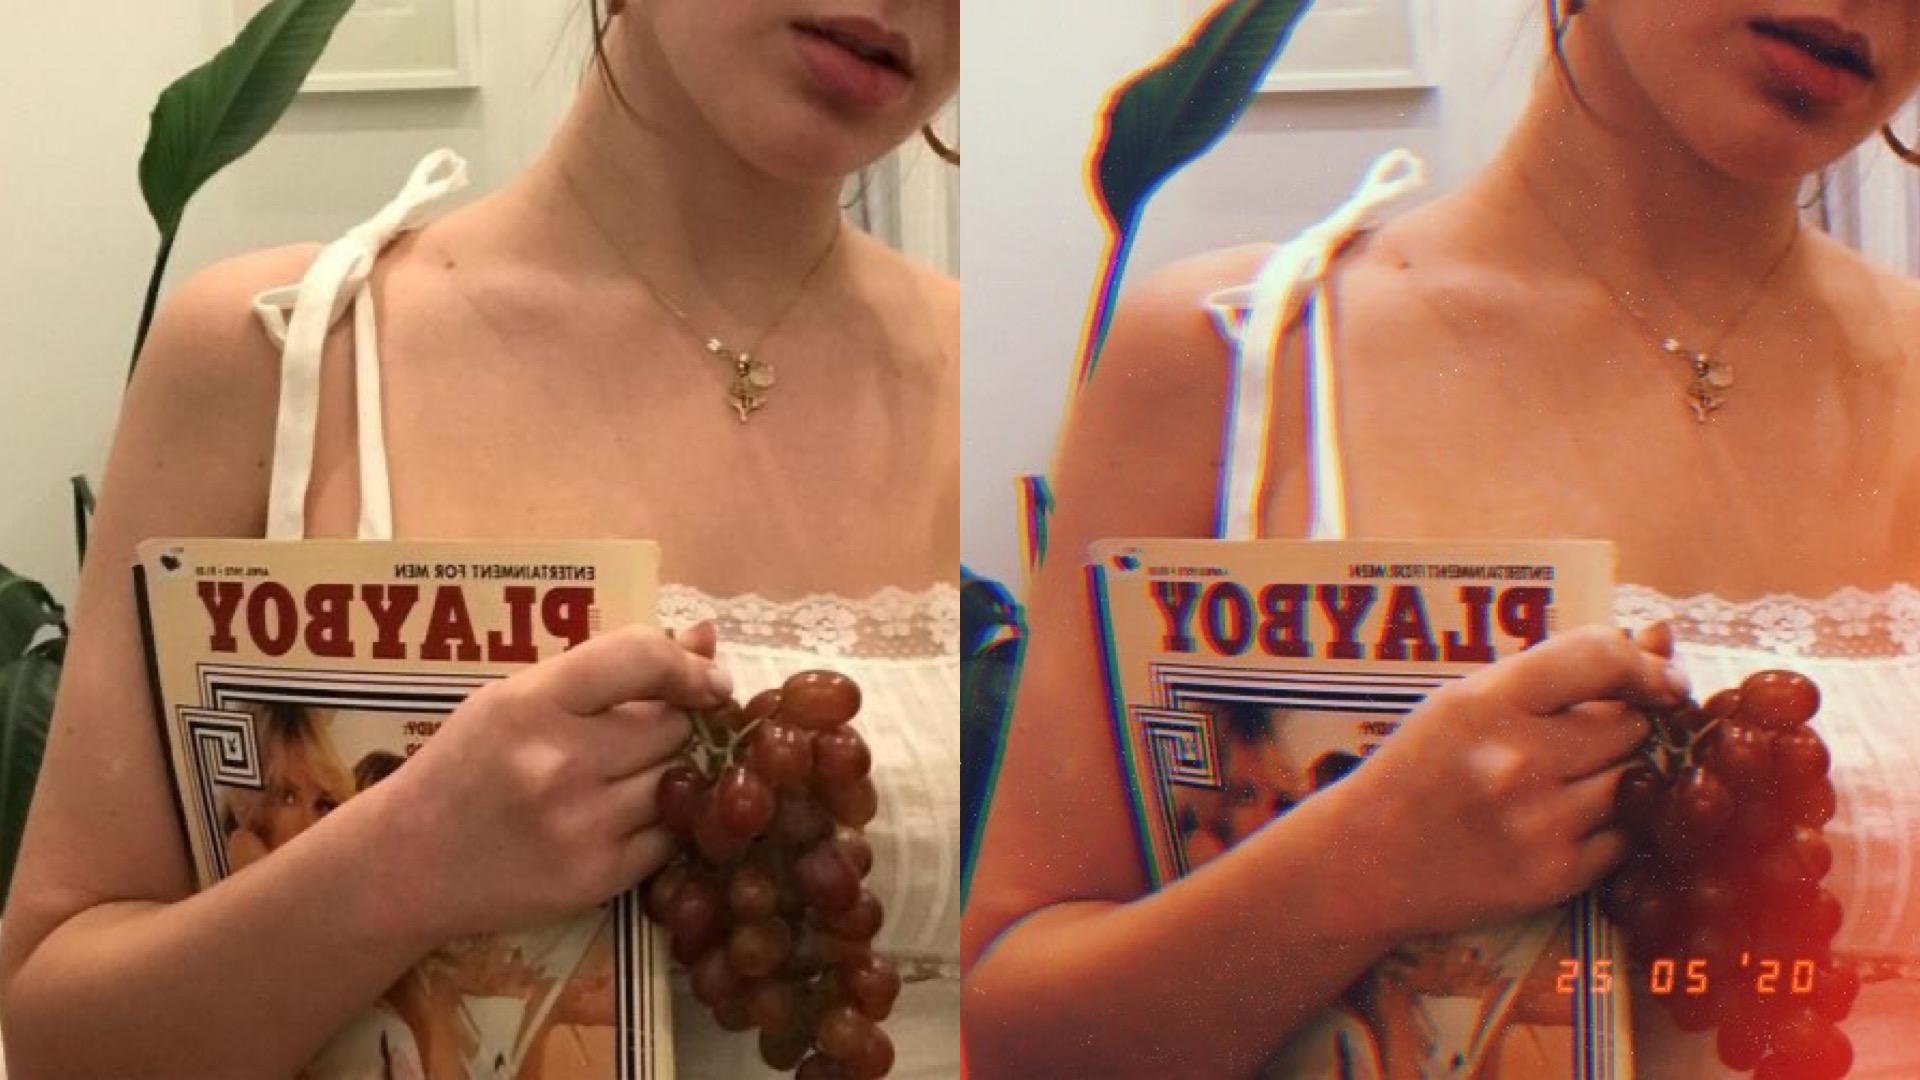
以下是 Before and After:
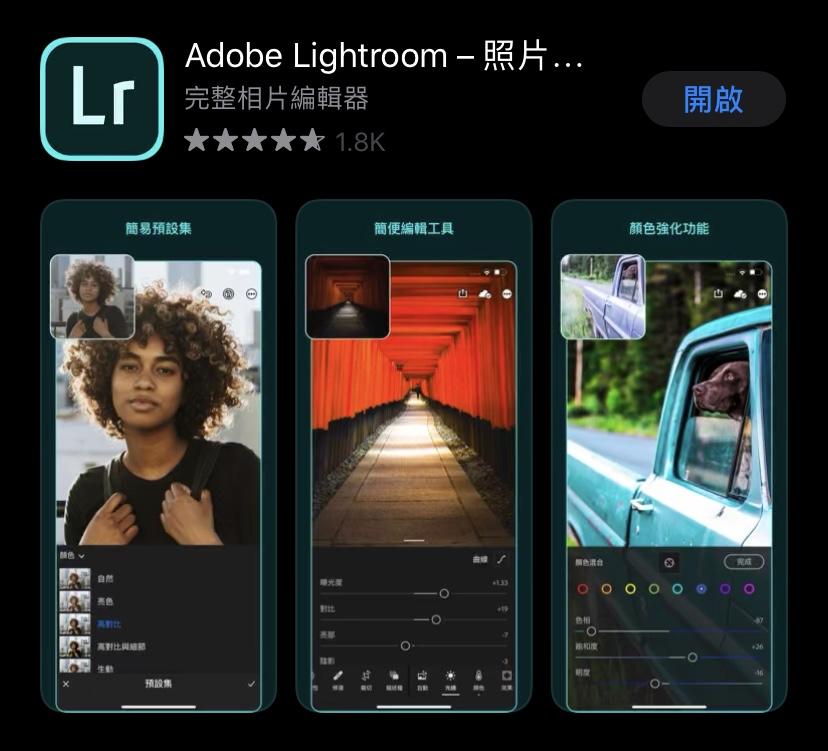
6. 神級調色APP:Lightroom
Lightroom 可讓你調的功能十分多,不光是最基本的光線,也可以一個一個顏色單獨地調,無數的Blogger、網紅都是用這App調的!
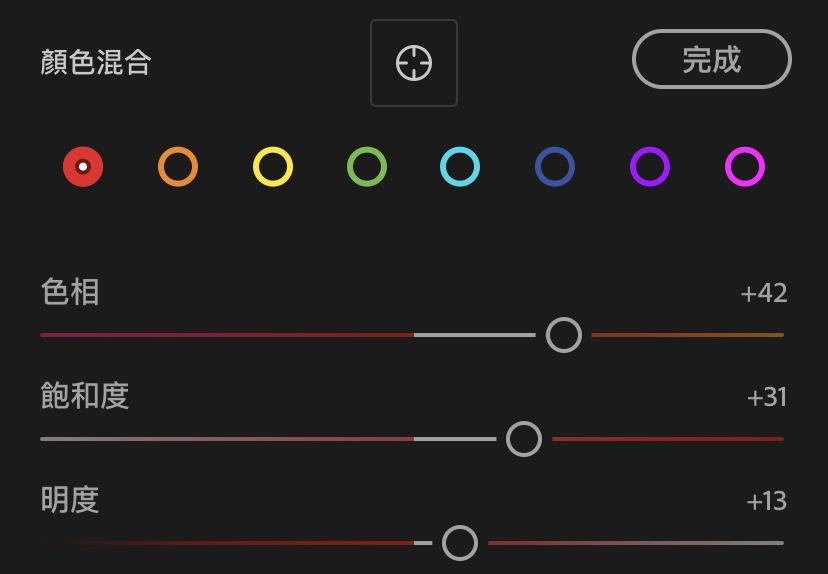
有 8 種顏色可以讓你每一個去調👇🏻

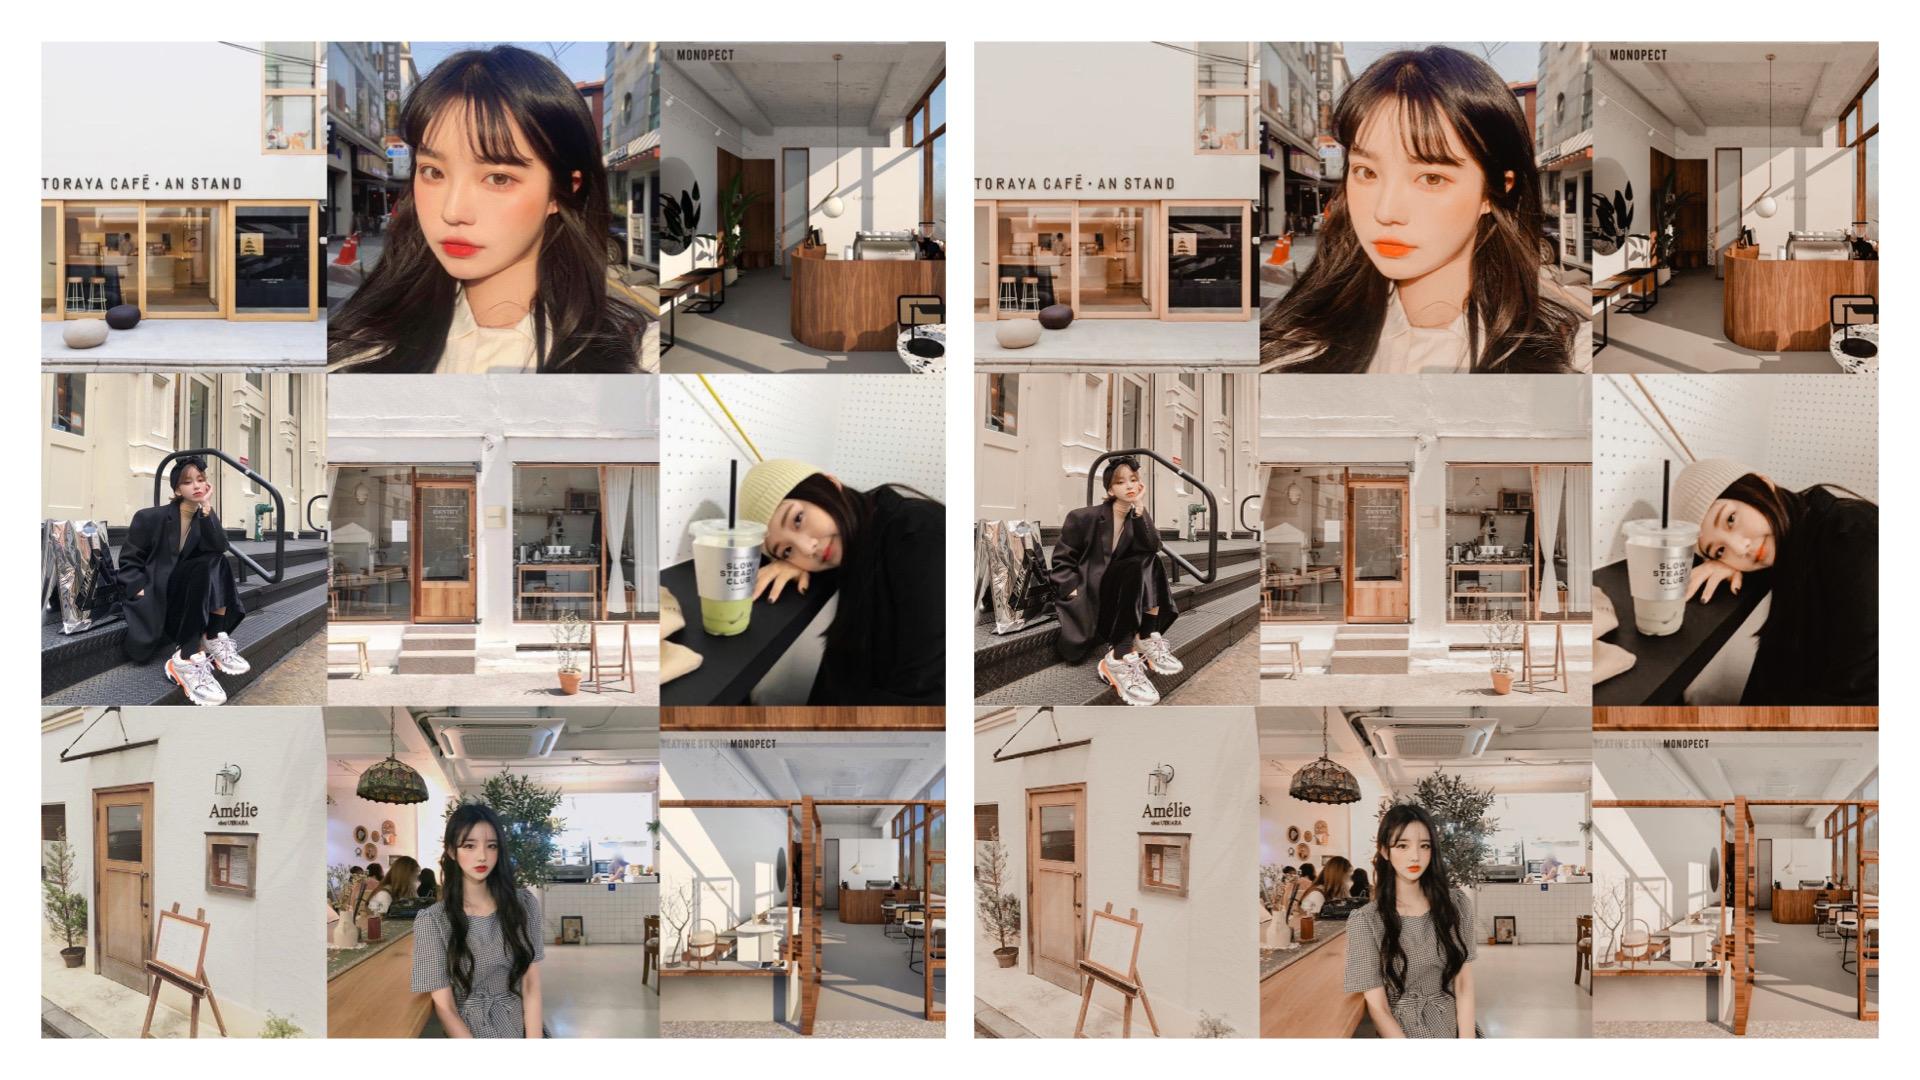
以下是 Before and After:

知不知道為什麼Lightroom我介紹那麼少!?
因為我的IG本身就是在分享Lightroom色調的!有興趣的話可以進裡面看我更多網美級的Lightroom色調 👇🏻
我的 IG 連結:@snow_colourss
喜歡這次的分享的話記得按下喜歡和收藏喔!
也要追蹤我的 Popdaily 和 IG 帳號才不會錯過任何一篇的教學和分享❤️
#修圖 #修圖App #色調 #色調分享 #好用app #好用app大公開 #IG網美